In this article we will be covering what Plex is, how to install it, and how to activate it on Ubuntu. We will also cover some common issues that I have had in the past.
What is Plex?
Plex is a powerful media server program that can be set up and ran on computers. It provides an intuitive way for users to stream their favorite movies, TV shows, music, and photos from any device in their home network or even over the internet. With Plex, users can easily manage media libraries and watch or listen to them anywhere at any time.
Plex is broken down into two programs: Plex (For Users) and Plex Media Server (For hosting Media Servers).
If you already have Plex download on your Ubuntu machine but need to start the program back up due to the computer being rebooted please skip down to the section: How to start Plex after booting up the computer with Ubuntu
Advantages of Linux Hosting:
Linux is an Operating System similar to Windows and MacOS except it is often free and opensource. My personal favorite advantage of using a Linux OS to host my Plex Media Server is that it allows me to use old Windows computers that run slow with the Windows OS on it. The largest advantage to using Linux for hosting your Plex Media Server is that Linux Operating Systems use very little computer resources when compared to the Windows OS. This allows for use of a old and/or low end computer to be able to run a Plex Media Server while saving energy consumption and allowing for use on cheap, or old, computer hardware. I run my Plex Media Server on an old Dell computer that was just going to be tossed.
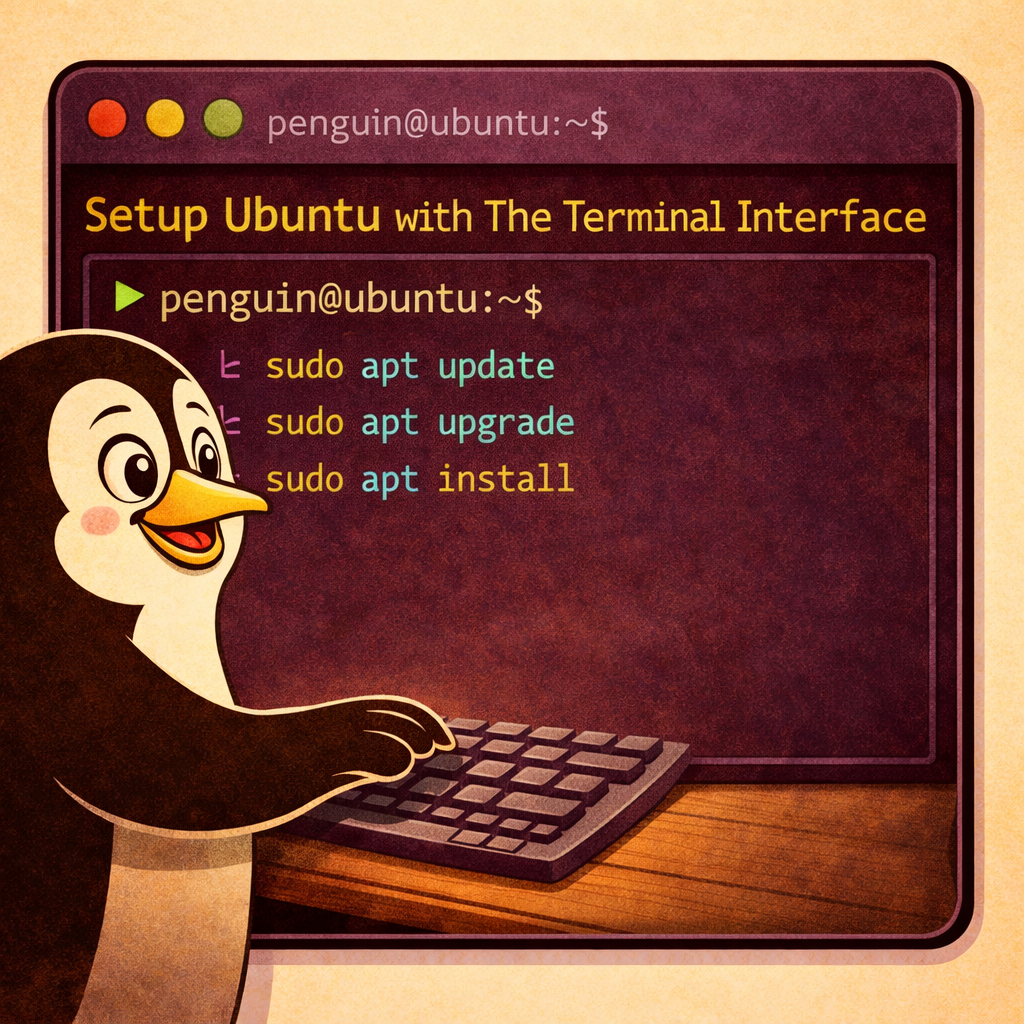
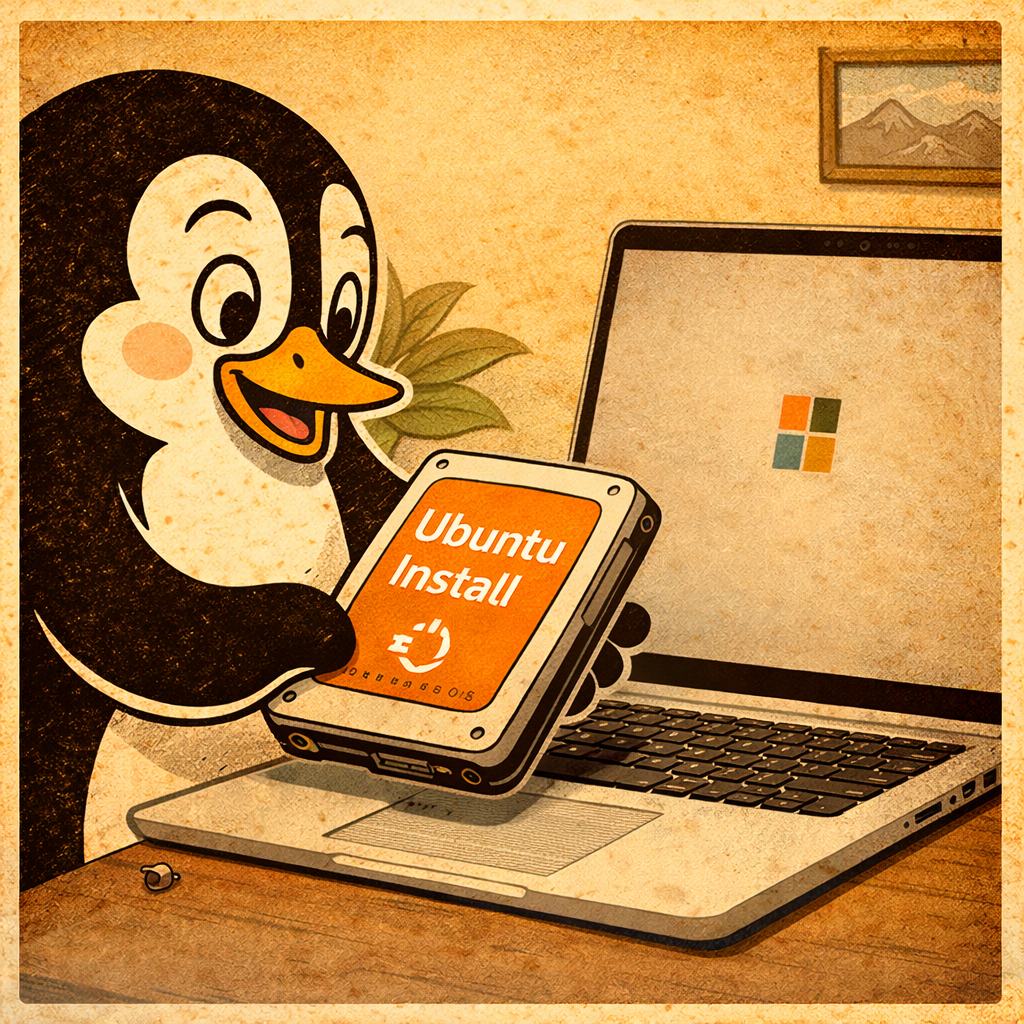
How to download Plex by using Terminal commands:
The first step in setting up your Plex server is downloading the software. It can be easily done through the terminal with the following command: sudo apt-get install plexmediaserver. Once you have entered this command, press enter and wait for the installation process to complete.
How to attach the Plex Icon to the start bar:
Once installation is complete, press the Super Key (Commonly known as the Windows Key or Command Key) and type in Plex. Right-click on the Plex Server Icon and select add to Favorites.
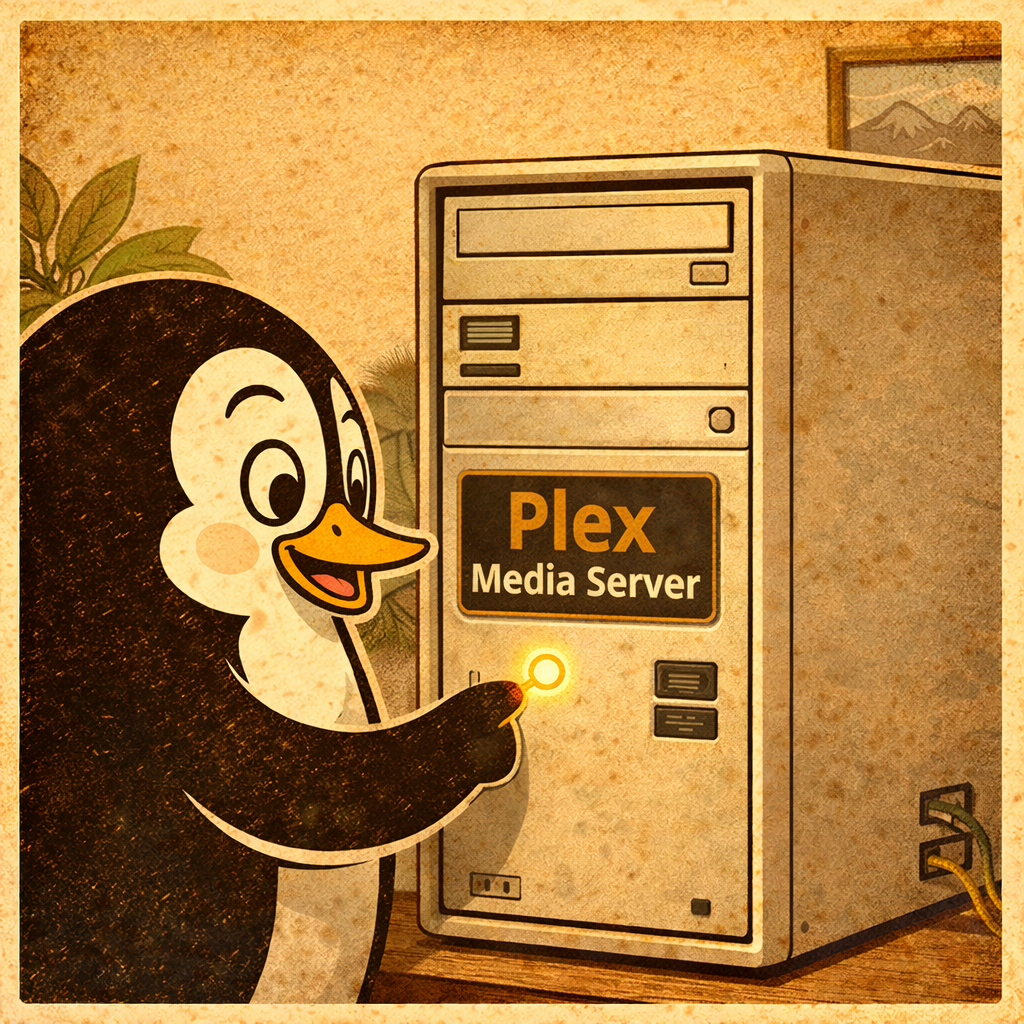
By default when a computer is turned on Plex Media Server will need to be activated manually. Simply start Plex Media Server by clicking on the icon pinned to the taskbar.
How to add content to the Plex Media Server:
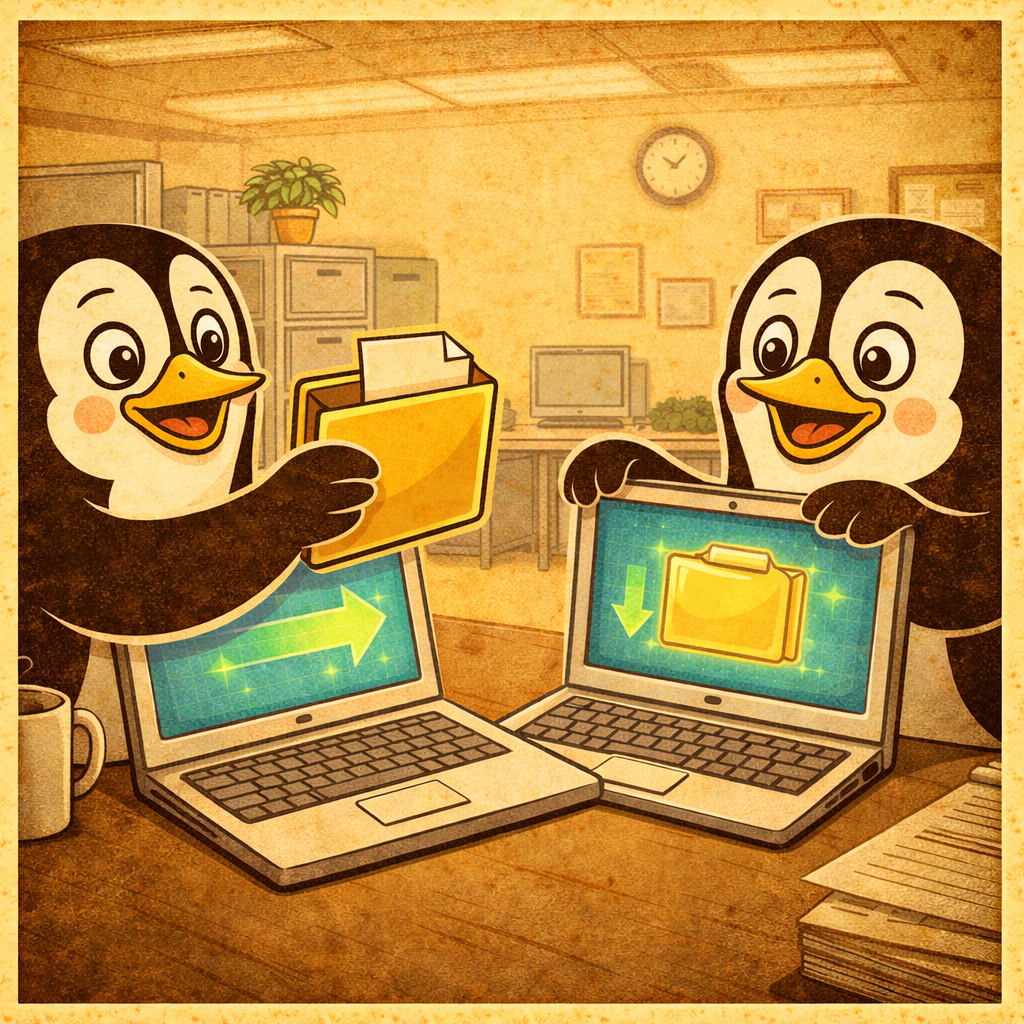
There are different methods of providing access to the content for your Plex Media Server. The easiest (and best method) is by having the Plex Entertainment Data on the same machine as the Server. This is because in most cases it will provide the quickest access times to the data.
Common Troubleshooting:
Sometimes computers just have issues and in the case of Plex this can happen often. Below are some troubleshooting steps that I have personally ran into with my own Plex setup.
How to start Plex after booting up the computer with Ubuntu:
When you need to access your Plex Media Server after rebooting your computer, you can easily start it up again by selecting the icon on the start bar. If it is not on the start press the Super Key (Commonly known as the Windows Key or Super Key) and type in plex. Right-click the icon and select add to favorites, then click on the icon on the start bar to start the Plex Media Server Program.
Some users may have two Plex icons. If your computer does then make sure you are selecting the icon that sais “Server”. One icon may be for users and if the user version is selected then it will not start the server and your entertainment will not be usable.
You can also use Terminal by entering this command: sudo service plexmediaserver start. This will begin the process of starting up Plex so that you can begin streaming media again.
User Permissions:
Sometimes Plex will not be able to use the additional drive in your system due to the current user not having the correct permissions to use the files. If this happens, it’s likely that the drive has not been given access to the Plex Media Server. To check this, you’ll need to open up the File Explorer and navigate to your additional drive and Right-click > Properties.
On the Security tab you’ll need to add Everyone with Read & Execute permissions and click Apply. Once done restart your Plex Media Server for the changes to take effect.
- You may also use Terminal to open the drive and check the permissions of the drive, folders and files. This will be covered in another article.
How to check if Plex Server is running:
To check that the Plex Server is running in the background, you can use a terminal command called “top” to view all of your processes then look for an entry with the name “plexmediaserver” and confirm that it is running.
Open Terminal and type in TOP and press enter. You will see all of the programs that are running in the background. Look for Plex in the list.
HDD NOT FOUND:
When an Ubuntu computer is rebooted it is common for it to be missing some secondary drives in the File Explorer. This means that the Plex Media Server cannot see the content that it is suppose to display for users to watch. If this happens try these common trouble shooting steps:
- Open File Explorer and navigate to ‘Other Locations’ on the bottom left hand side.
- Select the drive that your Plex Entertainment Data is saved on. In my experience this is the most common fix action to restore the Entertainment Data so Plex Media server can once again view the Entertainment Data.
- If the drives simply do not show up in File Explorer then.. Press the Super Key (Commonly known as the Windows Key or Super Key) and type in DISK.
- Find the drive that you need to attach to your computer on the left hand side and left click on it.
- Be careful in the area as you can easily mess up your drives and lose data.
- Mount the drive that contains the entertainment by pressing the sideways triangle associated with the drive. This should mount the drive and allow the computer access into the drive.
To mount drives using Terminal (Advanced Linux Users):
If you want to access media from external drives, such as an external hard drive or USB flash drive, you will need to mount them first. This can be done by opening up the terminal and entering the following command: sudo mount /dev/sdx /media/drive_name (where sdX is the name of your external drive). Once this is done, Plex should then be able to access any media stored on that drive.
How to check if Plex Media Server is running by using the Ubuntu Resource Manager:
1. Press the Super Key (Commonly known as the Windows Key or Super Key) and type in Resource Monitor to open the Ubuntu Resource Manager.
2. Once the Ubuntu Resource Manager is open, ensure you are in the “Programs” tab and scroll down to find Plex Media Server and check if it’s running. The program will be using ZERO resources if Plex Media Server is not running or the service will not be in the list at all.
3. If Plex Media Server isn’t running yet, then check the chapter above “How to start Plex after booting up the computer with Ubuntu”
How to mount additional drives where Plex Entertainment Data is saved:
Sometimes when a Linux (Ubuntu) computer is rebooted it will not have all of the additional drives attached for use. This means that the Plex Media Server cannot see the content that it is suppose to display for users to watch. If this happens try these common trouble shooting steps:
- Open File Explorer and navigate to ‘Other Locations’ on the bottom left hand side.
- Select the drive that your Plex Entertainment Data is saved on. In my experience this is the most common fix action to restore the Entertainment Data so Plex Media server can once again view the Entertainment Data.
- If further troubleshooting is needed press the Super Key (Commonly known as the Windows Key or Super Key) and type in DISK.
- Find the drive that you need to attach to your computer on the left hand side and left click on it.
- Be careful in the area as you can easily mess up your drives and lose data.
- mount the drive. This should allow access into the drive.
How to check that the Plex Server is running in the background:
There are two different methods that can be used to verify the PlexMediaServer is active in the background: System monitor and Terminal
System Monitor:
The System Monitor is a program installed on Ubuntu systems by default and acts similar to Task Manager for Windows.
Steps to use System Monitor:
- To open System Monitor press the ‘Super Key’ on the keyboard or select the ‘Show Applications’ button on the task bar.
- Type in System Monitor and open it.
- Ensure that you are on the Processes tab and search for Plex.
- If it is not there then see the section on how to start PlexMediaServer.
TOP command in Terminal:
To check that the Plex Server is running in the background, you can use a Terminal command called “top” to view all of your processes then look for an entry with the name “plexmediaserver” and confirm that it is running.
Steps to use the Terminal Command ‘Top”
- Press the Super Key (Commonly known as the Windows Key or Super Key) and type in Terminal, then press Enter. This will open the Terminal window which looks like Command Prompt.
- Once Terminal is open type in TOP and press enter. You will see all of the programs that are running in the background. Look for Plex in the list.
- To stop the TOP command press and hold the Ctrl + C buttons together.
- Additionally the Terminal command GREP can be used with the TOP command to filter.
- Type into Terminal the command TOP | Grep Plex
- The Grep command will filter out any items that do not use the word Plex.
To mount drives using Terminal (Advanced Linux Users):
If you want to access media from external drives, such as an external hard drive or USB flash drive, you will need to mount them first. This can be done by opening up the terminal and entering the following command: sudo mount /dev/sdx /media/drive_name (where sdX is the name of your external drive). Once this is done, Plex should then be able to access any media stored on that drive.
Other Free Programs for Linux:
Check out my Linux Guide to Free Linux Programs here
Conclusion:
Setting up a Plex server on Ubuntu is easy and straightforward. With just a few simple steps, you can have a powerful media streaming solution that allows you to watch movies, TV shows, music, and photos from anywhere in your home network. Downloading Plex through Terminal commands and mounting additional drives are both important processes when setting up your Plex server. With the steps outlined in this article, you should now be able to confidently set up and use a Plex media server on Ubuntu.