Setting up a printer on a Windows computer often requires more than just plugging it in. To ensure your printer works properly and takes full advantage of its features, you’ll need to install the correct drivers and supporting software. Whether you’re setting up a new printer for the first time or troubleshooting an existing one, understanding how to install drivers and related programs is essential. In this article, we’ll walk you through the process of installing printer drivers and software on a Windows PC, covering both automatic and manual methods to help you get your printer up and running smoothly.
This is a general guide to help users install a printer for the first time. It does not go into specific printers and is directed to Windows users.
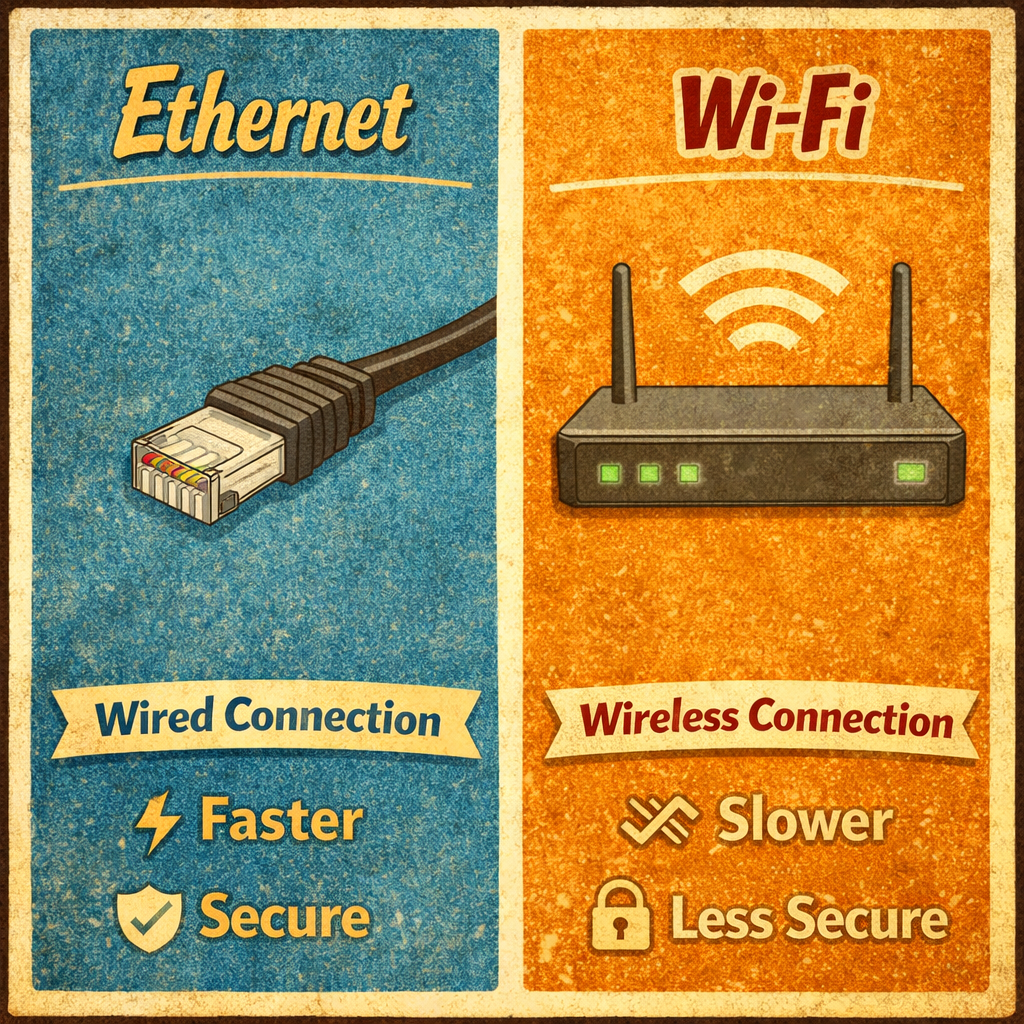
Ethernet vs. Wi-Fi
Wi-Fi is widely used for connecting devices to networks due to its convenience and mobility. However, it does come with some limitations, such as slower speeds and potential connectivity issues. While Ethernet may be more challenging to set up in certain environments, it provides faster speeds and a more stable, reliable connection. I always use Ethernet when possible with all my office equipment.
Always find a way to connect printers to the network via Ethernet!
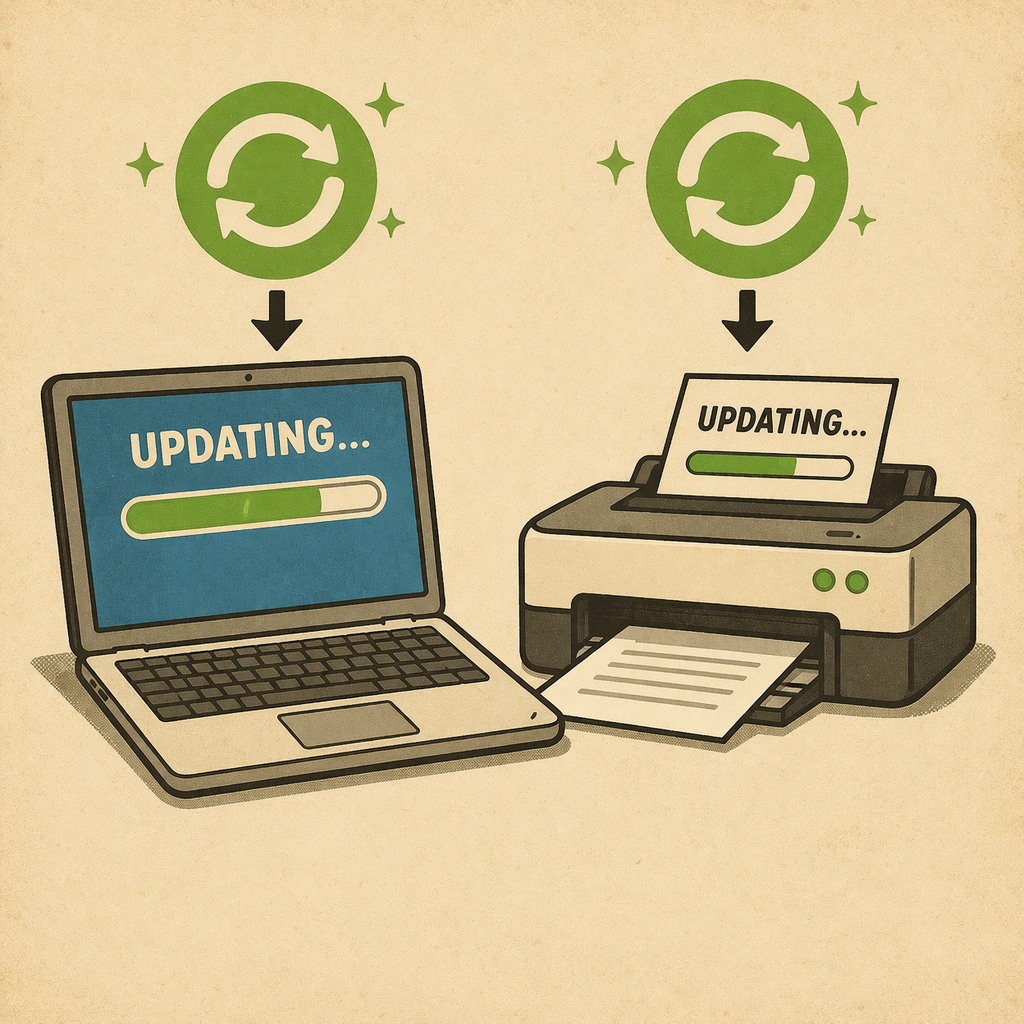
Updates:
I see all the time that computers, and other devices, have not been updated in a very long time. Ensure your printer, and computers, have all of their updates. Ensure your devices are connected to the internet first.
Printer updates can usually be found using the screen on the printer and is usually located under the settings tab. Often times it will say “Firmware Update” or “Check for Updates”
Windows updates can be found by pressing the windows key on your computer and type in “Update” without the quotation. Your system may need to be rebooted after, or during, a Windows update.
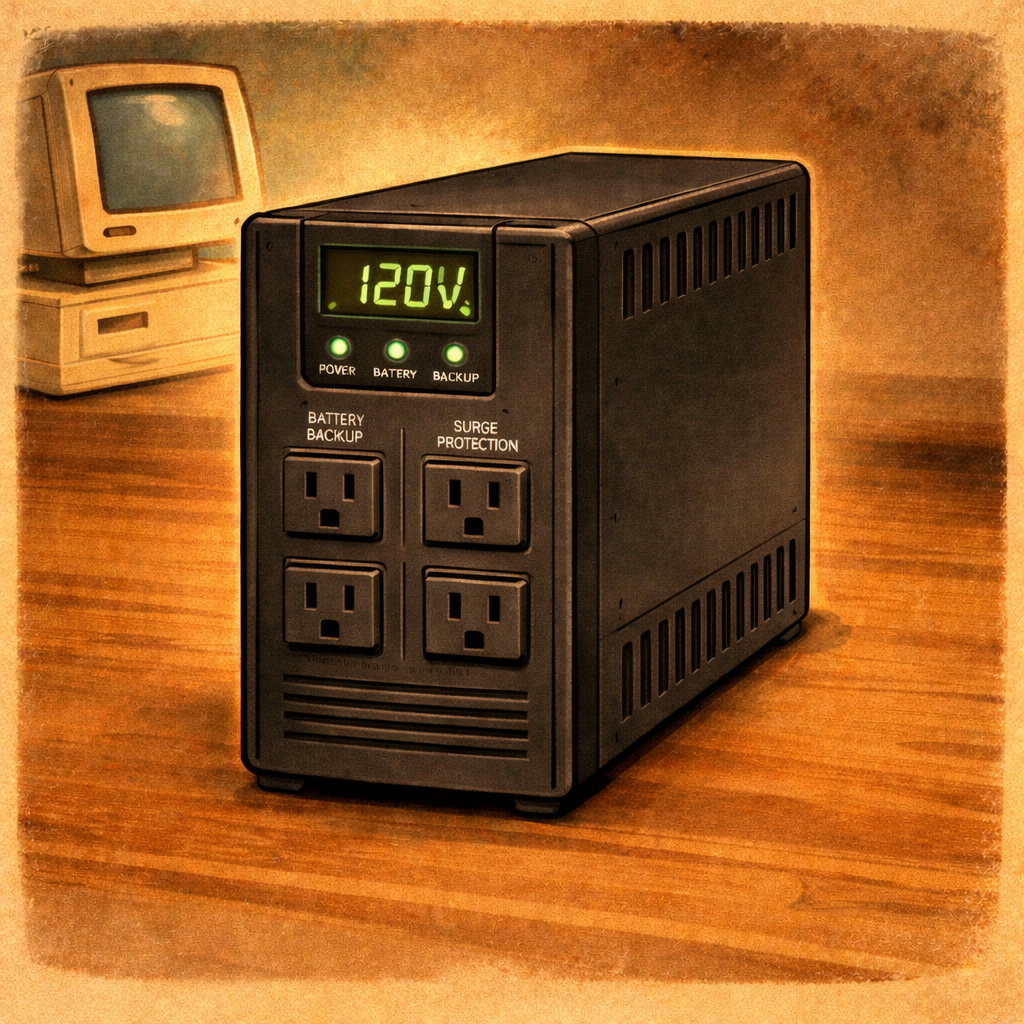
UPS:
An UPS, or Uninterruptible Power Supply, provides clean and reliable power to devices during power surges, power flickers and even during short power outages. When a printer loses power it can cause network issues such as IP address changes or physical wear on internal components. To help prevent this from happening it is always a good idea to have your printer on an UPS.
For more information about UPS check out my below.
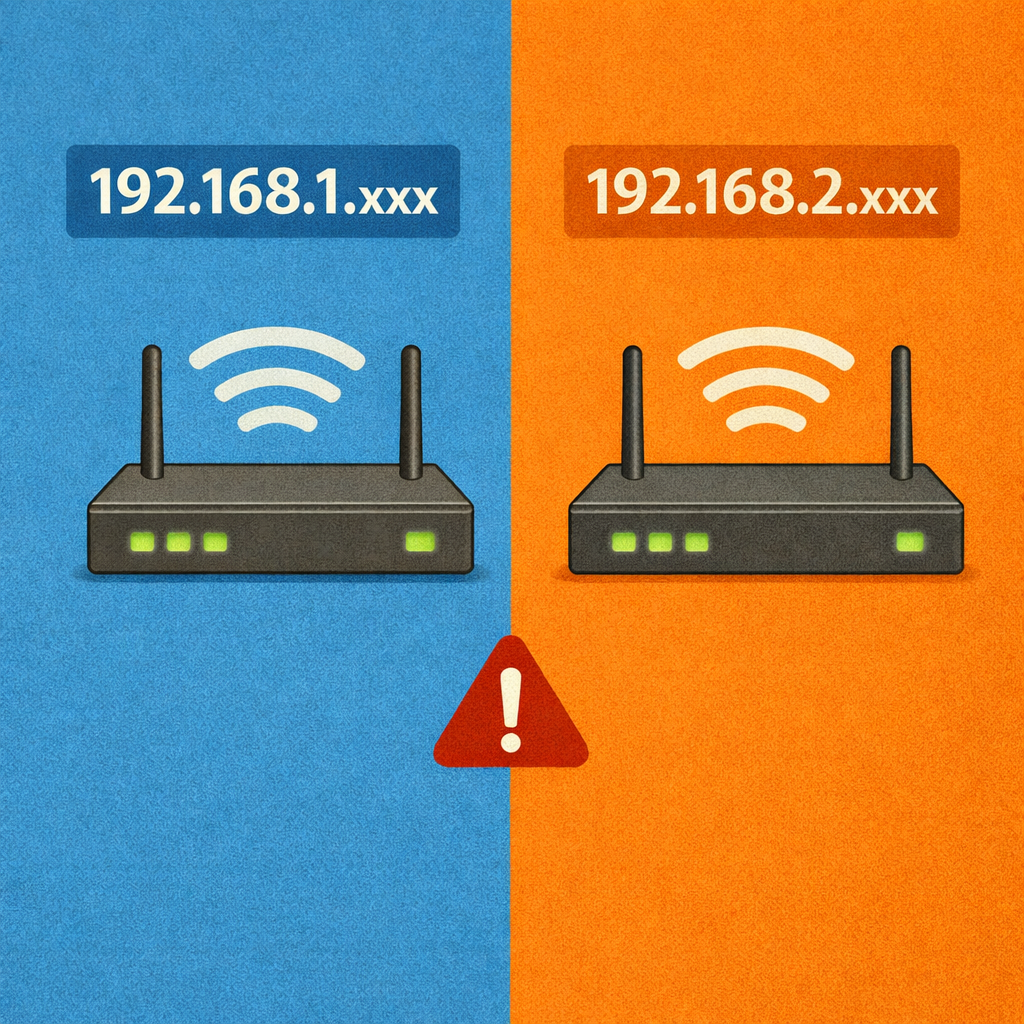
Correct Network:
Oftentimes business, and even some home, networks will have 2 or more “virtual” networks. A “Virtual” network basically splits your router into two, or more, groups so that one group can have special access to special networking equipment such as printers or NAS’s (Network Attached Storage).
An example would be. Your business has two Virtual networks titled “Staff-Network” and “Visitor-Network.” In this case the Staff-Network would have access to the internet, printers, NAS, and devices connected to the network via Ethernet. The Visitor-Network only has access to the internet and does not have access to the other network devices. This helps to increase security for the Staff-Network.
Check with your Network Admin if able to. If not then compare the two addresses together. If the numbers, excluding the final number, are different then the PC and Printer may be on different networks.
(Article Coming Soon)
Printer Assistant Program:
A Printer Assistant Program is a software tool designed to help users manage and troubleshoot their printers. It typically provides features like installation guidance, maintenance tips, and diagnostic tools to ensure your printer is running smoothly. The program can help with tasks such as checking ink or toner levels, installing/updating drivers, and resolving common issues like paper jams or connectivity problems.
However, it’s important to note that a Printer Assistant Program does not always support every printer model. Some programs may have limited compatibility, particularly with older or less common printer brands. As a result, users may find that their specific printer model isn’t available in the program’s list of supported devices.
Also Be Sure To Only Install Official Printer Assistant Programs. Some make’s of Printers may have software in common program stores such as the Microsoft Store (Found on Windows Computers) but be sure it is the official companies software.
- Here is a list of common Printer Assistant Programs and Direct Driver Downloads:
Driver Direct Download:
If your printer does not have a Printer Assistant Program that it can use then the Printers Drivers will need to be manually downloaded, and installed, directly from the companies website. You will need your printers Make and Model number.
- Below is a list of common places to download Printer Drivers.
- Sharp Printer Drivers: https://global.sharp/restricted/print/select.html?view=2&
- HP Direct Driver Download: https://support.hp.com/us-en/drivers/printers
- Epson Drivers: https://epson.com/Support/Printers/sh/s1
- Cannon Drivers: https://www.usa.canon.com/support
Once the Printer Driver is installed you will need to run the install wizard by double clicking on the Printer Driver once it is fully downloaded onto your computer. Items downloaded using a web-browser will usually be located in the Downloads folder for Windows.
Static IP Address:
IP Addresses are assigned to all devices connected to a router, or switch, and allows devices to communicate over a network. There are two types of IP addresses: Dynamic and Static.
Dynamic IP addresses can change over time and is usually the default setting in routers and work great for phones and computers. However, dynamic IP addresses may change when there is a power outage or for other reasons over time.
Static IP addresses are usually configured in the router and will force certain devices to always take the same IP address that is assigned in the Router. When the power goes out and the device is powered off, the printer will take the assigned IP address when it is powered back on. Static IP addresses are great for Network devices such as printers and servers as it allows users to identify a printer by its IP address (Example. 192.168.1.100 is the Storage Room Printer).
Default Printer:
Setting a default printer on your Windows computer ensures that print jobs are automatically sent to the correct printer without having to select it each time. This can save time and prevent mistakes, especially if you use multiple printers. It also helps avoid confusion, making printing a smoother and more efficient process.
Steps to Set a Default Printer:
- Open the Start Menu and go to Settings.
- Click on Devices and then select Printers & Scanners.
- Under the “Printers & Scanners” section, find your preferred printer.
- Click on the printer and select Set as default.
- Your chosen printer will now be the default for all print jobs but can be manually changed when printing.
By setting a default printer, you streamline your printing experience and ensure consistent results.
Troubleshooting:
If your printer has issues and needs troubleshooting check out my article: https://projectswithjackie.com/printer-troubleshooting/