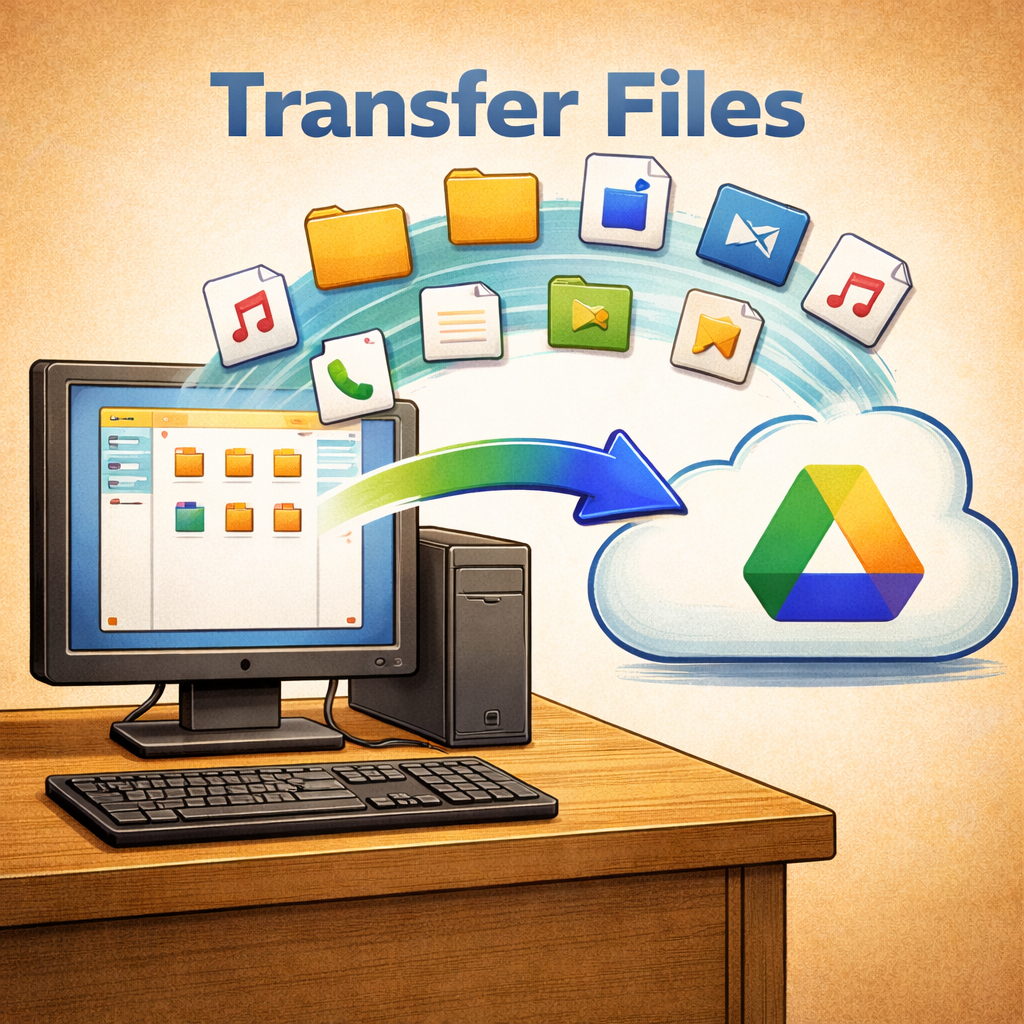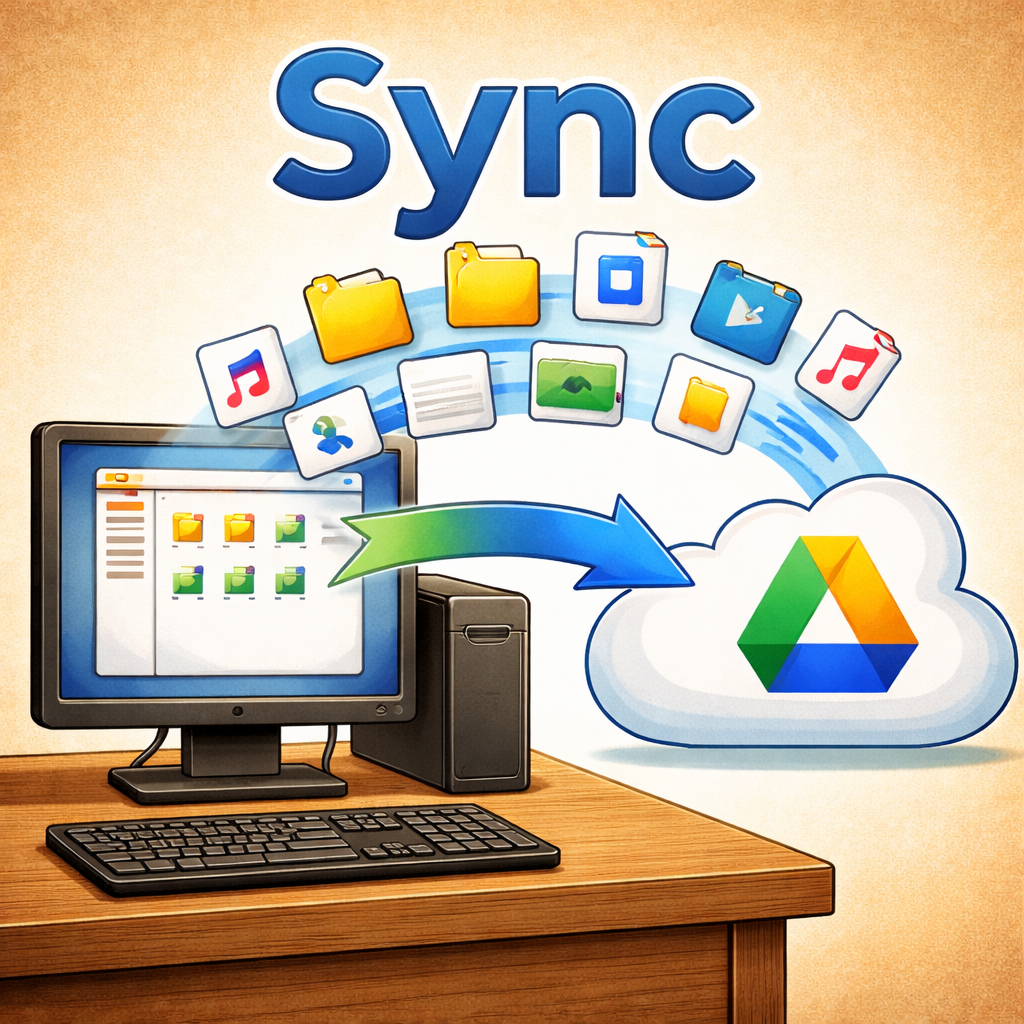

Google Drive is a powerful cloud storage service, but jumping between your browser and local folders can feel clunky. By adding Google Drive directly into File Explorer, you can manage cloud files alongside your local files—dragging, dropping, and organizing them just like any other folder.
In this guide, we will cover how to add google drive to file explorer on Windows 11.
YouTube Video:
Files On-Demand:
Adding Google Drive to File Explorer provides a more streamlined and efficient way to manage your files by allowing faster access to your cloud storage without needing to open a browser. It enables simple drag-and-drop file management, making it easier to organize and move files just like you would with the Windows File Explorer.
An online-only file, also known as a placeholder file, is a file that appears in your file system as if it is stored locally, but is actually kept in the cloud. These files are part of features like Files On-Demand, allowing you to see the full structure of your folders without using up local storage space. When you open or interact with the file, it is automatically downloaded from the cloud to your device. This approach helps save disk space while still giving you quick access to your files as if they were stored directly on your computer. Files On-Demand require Internet and, in the case of Google Drive, a Google account login in order for access to these files.
Setting up Google Drive on your Windows 11 PC:
Below are easy to follow steps for setting up Google Drive on a Windows 11 PC. Older versions of Windows are no longer receiving updates so if using a PC with an older version of Windows it would be best to find a way to upgrade.
Step 1: Download Google Drive for Desktop
- Open your web browser and go to Google Drive Download.
- Select Download Drive for Desktop.
- Once downloaded, run the installer and follow the on-screen instructions to install.
Step 2: Sign In to Your Google Account
- After installation, Google Drive for Desktop will open automatically.
- Click Sign In, then enter your Google account credentials.
- Choose whether you want to back up all your files or just use Drive as a synced folder.
Step 3: Choose Sync Options
Google Drive for Desktop gives you two main ways to sync:
- Stream files – Files are stored in the cloud by default, taking up minimal local storage. They download when you open them.
- Mirror files – A full copy of your Google Drive is kept on your computer, which uses more storage but keeps files available offline.
Pick the method that best fits your needs.
Step 4: Access Google Drive in File Explorer
Once setup is complete, you’ll see a Google Drive icon appear in the navigation pane of File Explorer (on the left side).
- Open File Explorer (Windows key + E).
- Click Google Drive in the sidebar.
- Your files and folders will display just like any other folder.
Step 5: Manage Files Like Local Folders
Now you can:
- Drag and drop files into Google Drive directly from File Explorer.
- Rename, delete, or organize files and folders as you normally would.
- Right-click files to change offline availability or view them online in your browser.
Troubleshooting Tips
- Check that the desired file is moved from the PC into the Google Drive Folder using File Explorer.
- If Google Drive doesn’t appear in File Explorer, restart your computer.
- Check that Google Drive for Desktop is running in the system tray (lower-right corner of your taskbar).
- Ensure you are signed in with the correct Google account.
- Internet is required from time so that the cloud and your computer can sync file updates.
Conclusion:
Adding Google Drive to File Explorer in Windows 11 makes file management simple and seamless. With just a few steps, you can keep all your cloud and local files accessible in one place.

About Projects with Jackie!
As the Family Nerd, my goal is to help non-techie people learn about, and find, the tech that they need. We do this by providing as much information as we can from a Nerdy standpoint. This includes common issues seen with family and friends.