In this guide, we’ll walk step by step through how to install Windows 11 cleanly and safely, explaining the process in plain language so you know exactly what’s happening at each stage. We’ll cover what you need before you start, including the Windows 11 ISO file, a USB flash drive, and Rufus—a powerful tool used to create a bootable USB. Some CPU’s are not supported by Windows 11 so we will touch on that and provide a link to an article on Unsupported CPU’s. By the end of this guide, you’ll be fully prepared to install Windows 11 with confidence, whether you’re upgrading an existing PC or setting up a fresh system.
Unsupported Computers:
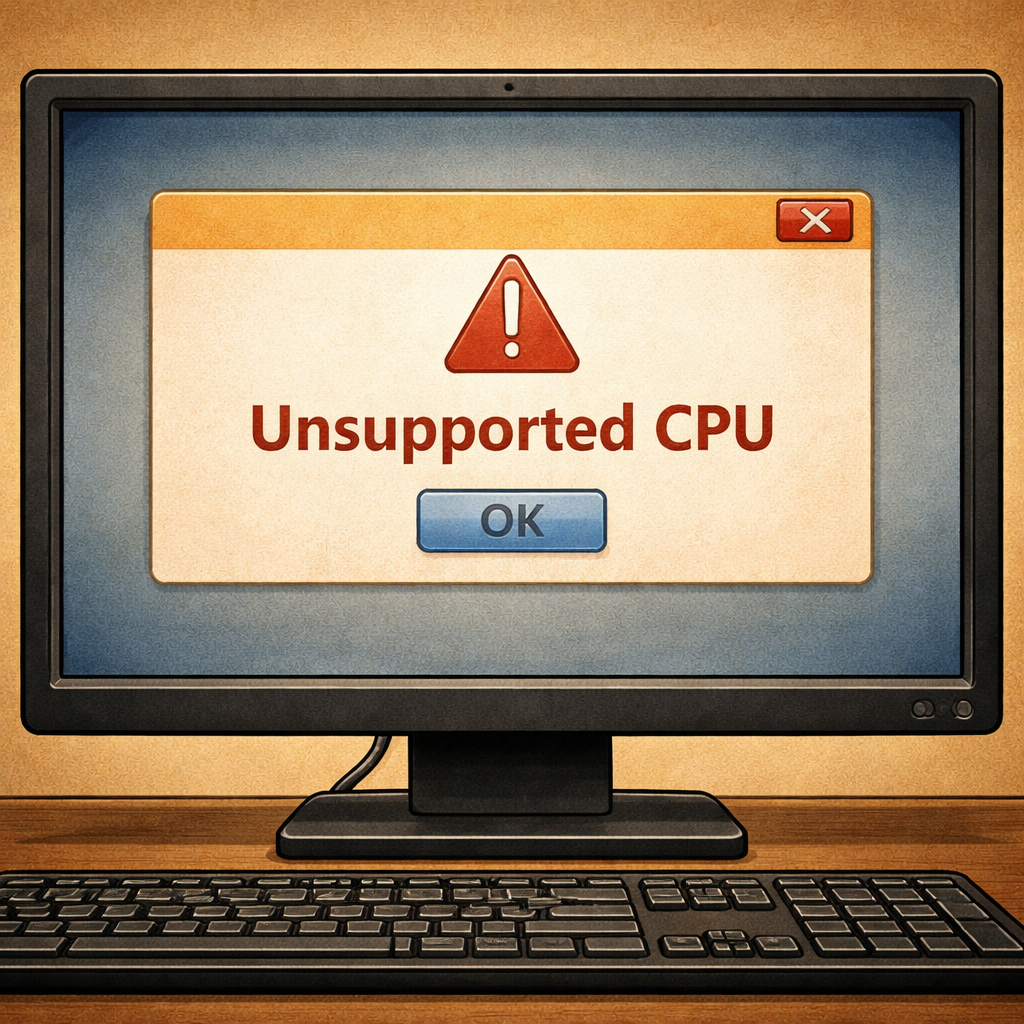
Before we begin into how to install Windows 11 onto a computer it is important to know that some computers do not meet Microsoft’s official Windows 11 hardware requirements, such as older CPUs, which means the installer may block the upgrade by default. In these cases, it is possible to bypass certain checks using Windows 11 to be installed on otherwise unsupported systems.
While this approach works for many users, there are important drawbacks to consider: Microsoft may limit or stop future feature updates, compatibility issues may occur with drivers or hardware, and unsupported systems are not guaranteed the same level of long-term stability or security. If you choose to proceed, make sure you understand the risks.
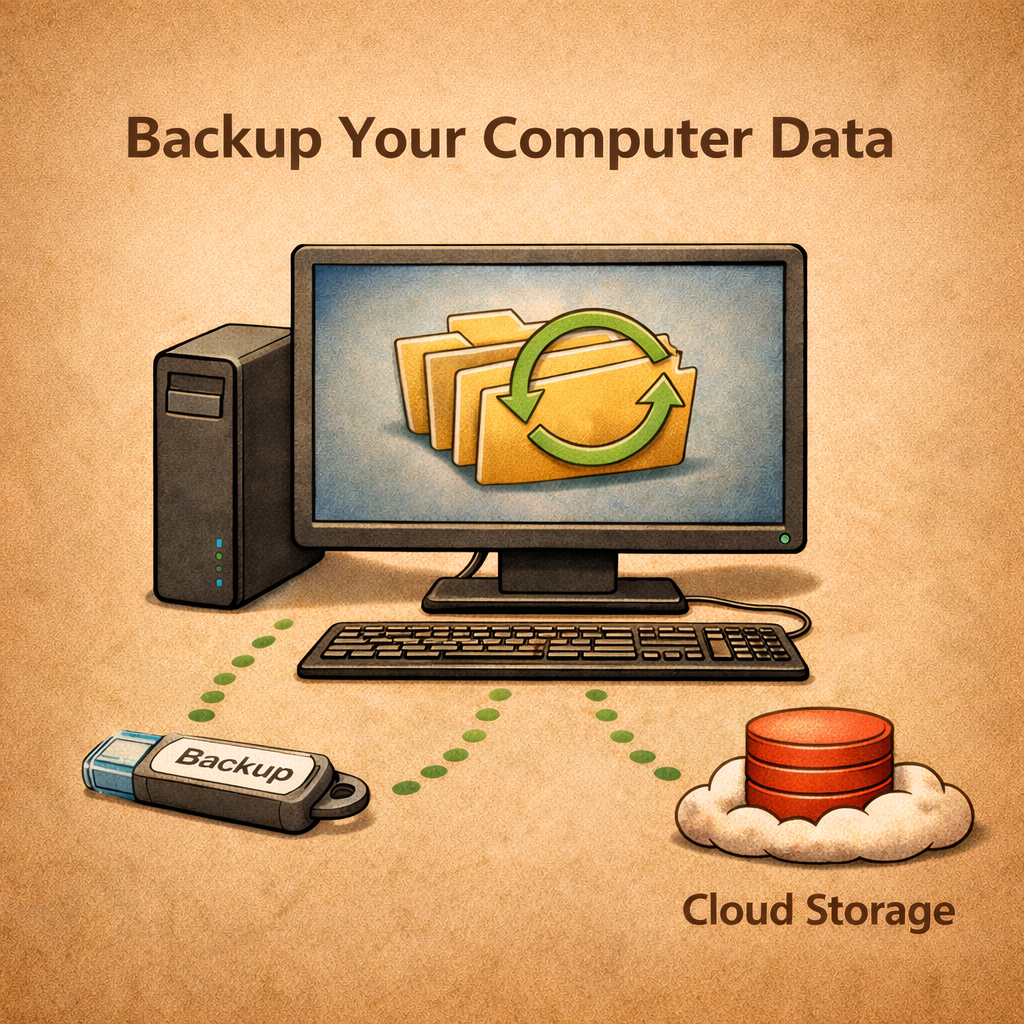
Backup PC Data:
Before installing Windows 11 it is important to backup all data such as photos. All data will be deleted when installed.
Upgrading from older Windows Versions:
Upgrading to Windows 11 from a previously activated version of Windows (such as Windows 10) allows users to retain their registration through Microsoft’s digital licensing system. When a device is upgraded, its hardware ID is linked to a digital license stored on Microsoft’s activation servers, meaning the system automatically recognizes the machine as genuine without requiring a new product key. As long as the upgrade path is valid and the underlying license was properly activated, Windows 11 will inherit that activation status seamlessly. This simplifies the process for users by eliminating the need to re-enter keys or purchase a new license, while also ensuring that future reinstalls on the same hardware can be activated automatically once connected to the internet.
Tools Required:
To install Windows 11 you will need a few things.
- 8GB USB Drive or larger
- 128GB SSD or larger
- Windows 11 ISO file
- ISO Install Software (RUFUS)

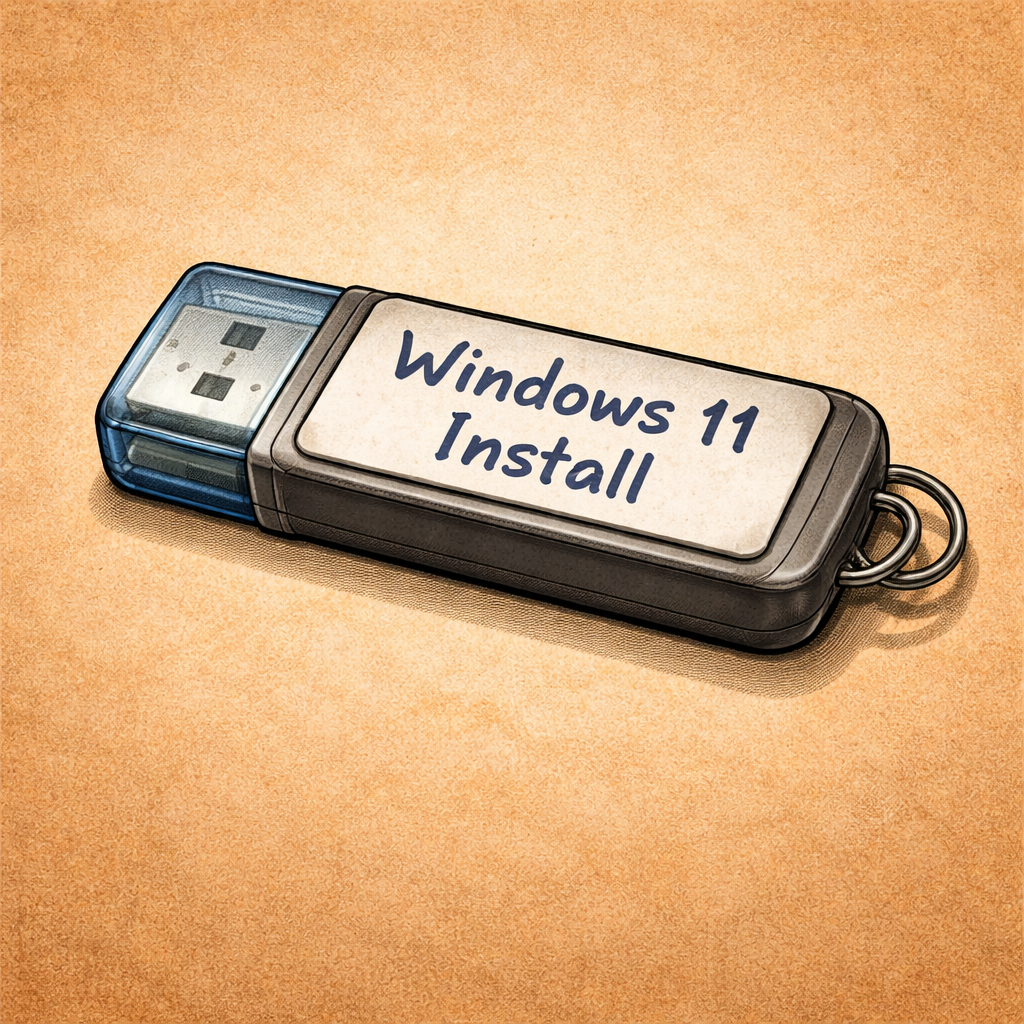
USB:
Before you begin installing Windows 11, you’ll need a USB flash drive to create a bootable installation media. This USB drive will be used to store the Windows 11 setup files and allow your computer to boot directly into the installer. For best results, the USB drive should be at least 8 GB in size and completely empty, as the creation process will erase all existing data on it. Using a reliable USB drive helps ensure a smooth installation and reduces the risk of errors while copying files or booting into the Windows 11 setup environment.
Operating System:
To download Windows 11, visit Microsoft’s official Windows 11 download page using your web browser. From there, you can choose the option to download the Windows 11 ISO file, which is recommended for creating installation media. Select the appropriate edition, confirm your language, and start the download—this may take some time depending on your internet speed, as the file is several gigabytes in size. Downloading Windows 11 directly from Microsoft ensures you receive a clean, up-to-date, and secure version of the operating system that’s ready to be used with tools like Rufus for installation.
What is a ISO Boot Install Drive:
An ISO boot drive is a USB flash drive that has been specially prepared to start a computer and load an operating system installer. It is created by copying the contents of an ISO file—which is an exact digital image of an operating system, such as Windows 11—onto the USB drive in a way that makes it bootable. When you plug an ISO boot drive into a computer and select it from the boot menu, the system starts directly from the USB instead of the installed operating system, allowing you to install, repair, or reinstall Windows. This type of drive is commonly used for clean installations, system recovery, and setting up new computers.
Rufus ISO Creator (Free):
Rufus is a free program that allows users to create bootable ISO drives. To install Rufus and use it to create a bootable Windows 11 USB drive, follow these steps.
Step 1: download Rufus from its official website and open the downloaded file—after the downloader is installed open it and begin the Rufus install onto the computer. Link to Rufus download
Step 2: IMPORTANT: unplug all USB drives so that the wrong drive is not erased and insert your dedicated USB flash drive into your computer and launch Rufus.
Step 3: Open Rufus, if not already open. Under Device, select the USB drive you want to use (This drive will lose all data).
Step 4: Click Select and choose the Windows 11 ISO file you downloaded from Microsoft. By default it is usually located in the Download’s folder.
Step 5: Leave the default settings.
Step 6: Click Start and confirm any prompts. Rufus will format the USB drive and copy all required files. Once finished, your USB drive will be ready to boot and install Windows 11 on a compatible—or intentionally bypassed—system.
Beginning the Install:
To finnaly begin the install of Windows 11 onto a computer you will need to make sure that the ISO Boot USB Drive and the drive that is dedicated to contain the Windows 11 Operating System are both securely plugged into the computer. Any other drive should be removed as this process will erase any data on the dedicated Windows 11 drive.
Then, boot the computer from a USB drive, first insert the bootable ISO USB drive into an available USB port while the computer is powered off. Next, turn the computer on and immediately begin pressing the boot menu hotkey for your system—this opens a temporary menu that lets you choose which device to boot from. Common boot option keys include F12 (Dell, Lenovo), F11 (HP), F8 or Esc (ASUS), F10 (some HP systems), and F2 or Delete on many systems if you need to enter the BIOS/UEFI instead. Once the boot menu appears, select the USB drive (it may be listed as “USB,” “UEFI: USB,” or by the drive’s brand name) and press Enter. The computer will then start from the ISO USB drive and load the Windows 11 installer. If the USB does not appear, you may need to adjust boot settings in the BIOS/UEFI, such as enabling USB boot or disabling Secure Boot on older systems.
Tech Support OEM:
If setting the PC up for a customer and you would like to push updates to the PC then you can enter Audit Mode.
At the first windows setup screen (Country/keyboard) Press CTRL + Shift + F3 at the same time.