Barrier for Ubuntu is a free, open-source software tool that allows you to share a single keyboard and mouse across multiple computers seamlessly. It functions similarly to KVM switches but without the need for additional hardware. Whether you’re working with multiple desktop setups or controlling a media center, Barrier provides a flexible solution for managing your devices without the hassle of switching peripherals.
Barrier for Ubuntu
One popular use case for Barrier is controlling a computer that is connected to a projector. With Barrier, you can sit comfortably on your couch while using the keyboard and mouse of your primary computer to operate the projector-connected device. Here’s how you can set up Barrier on Ubuntu and use it to control your media PC.
How to Install Barrier on Ubuntu
Open the Terminal on your Ubuntu desktop by pressing Ctrl + Alt + T at the same time.
Update the Package List Ensure your system’s package list is up-to-date by running:
sudo apt update sudo apt upgrade
sudo snap refresh
Install Barrier for Ubuntu by using the following command:
sudo apt install barrierWait for the installation to complete.
Launch Barrier Once installed, you can launch Barrier from the Applications menu or by running:
barrierDon’t forget to right click the barrier icon and add it to your favorites so that it will be pinned to your bar.
Setting Up Barrier
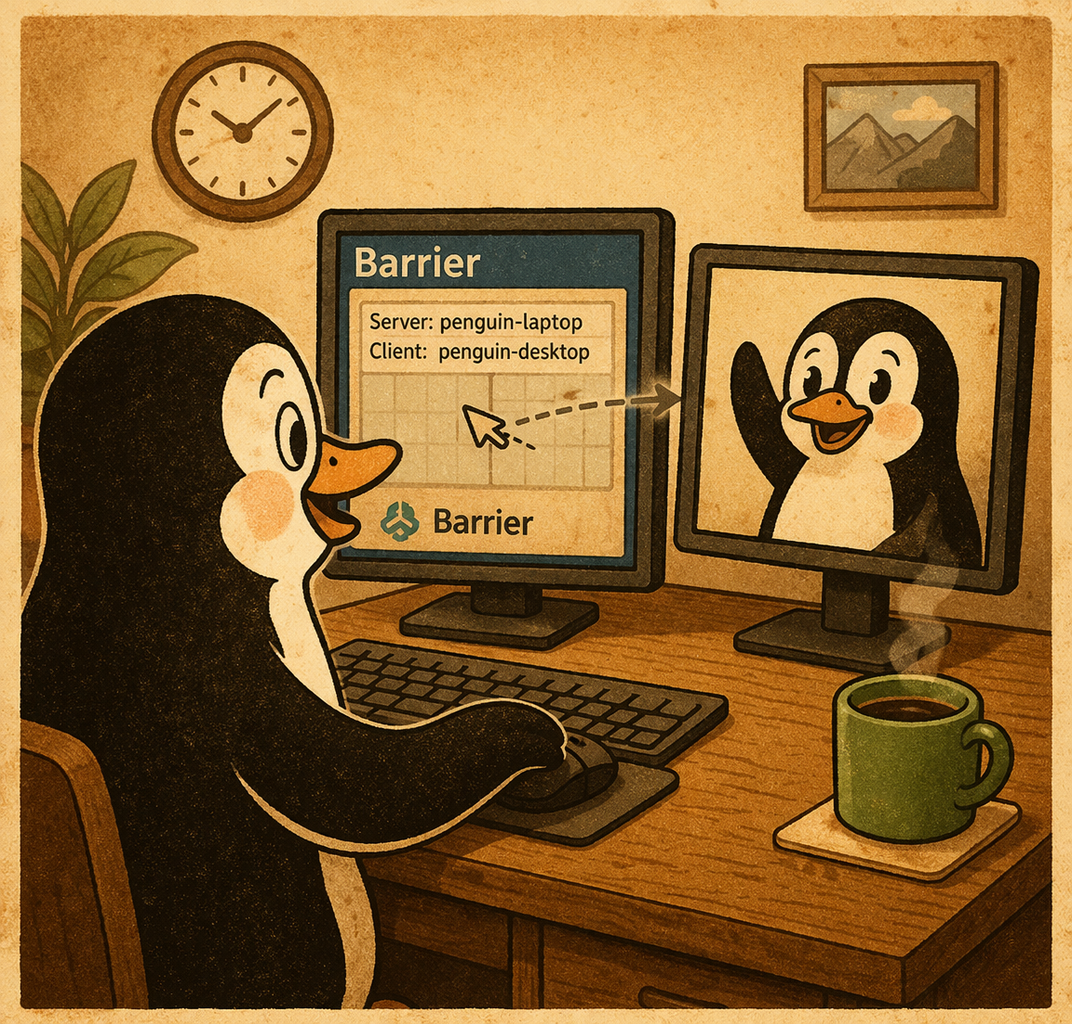
Barrier consists of two components: the server and the client.
- Server: The computer with the keyboard and mouse you want to share.
- Client: The computer you want to control using the shared peripherals.
Step-by-Step Setup
- Server Configuration
- On the main computer (e.g., your laptop), open Barrier.
- Select the “Server” option.
- Click on “Configure Server.” You will see a grid representing the relative positions of connected computers.
- Drag the computer icon from the top right onto the grid to represent the location of the client (e.g., to the right of the server if you will be moving your mouse to the right to control the projector-connected PC).
- Client Configuration
- On the computer connected to the projector, open Barrier.
- Select the “Client” option.
- Enter the IP address of the server (you can find this in the Barrier interface on the server computer).
- Click “Start” to establish the connection.
- Test the Connection
- Move your mouse toward the client screen. If the setup is correct, the cursor will move onto the projector screen.
- You should also be able to use the keyboard to control the client computer.
Control a Projector-Connected PC from Your Couch
- Initial Setup Ensure both your server (e.g., your laptop) and client (projector-connected PC) are powered on and connected to the same network.
- Start Barrier on Both Computers Open Barrier on both the server and client, ensuring the connection is active.
- Sit Back and Control Now you can comfortably sit on your couch and use your primary computer’s keyboard and mouse to control the projector-connected PC. This is perfect for navigating media applications, web browsing, or giving presentations.
- Troubleshooting Tips
- If the connection is not working, ensure that both devices are on the same network.
- Check firewall settings to ensure that Barrier traffic is not blocked.
- Make sure you have entered the correct IP address on the client.
Conclusion
Barrier is a powerful, flexible tool that simplifies controlling multiple computers. By installing it on your Ubuntu desktop and projector-connected PC, you can manage your media from the comfort of your couch without the need for extra peripherals. Once set up, you’ll wonder how you ever lived without it!

About Projects with Jackie!
As the Family Nerd, my goal is to help non-techie people learn about, and find, the tech that they need. We do this by providing as much information as we can from a Nerdy standpoint. This includes common issues seen with family and friends.